|
<< Click to Display Table of Contents >> Choosing a Collection to Search |

  
|
|
<< Click to Display Table of Contents >> Choosing a Collection to Search |
|
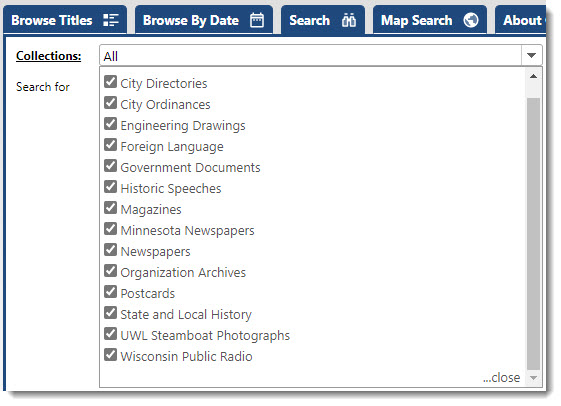
Generally, the ProSeek Search function starts with All Collections as the default search, but you can choose one collection or several by using the Collections drop-down list. In some cases, depending how your ProSeek is configured, you may be only able to search one collection at a time.
1.Click on the Collections field. A drop-down list will appear showing the default list of All collections. If "All" was the default, all the collections will have check marks chosen. To choose All collections, click anywhere in the All box in the drop-down menu.
2.To choose a specific collection or several collections, click on the box to the left of the collection name in the drop-down list. A check mark will appear in the box. Continue to make your choices until all the collections you want to browse have been chosen.
NOTE: In some ProSeek applications, you will only be able to choose All collections or just one other collection, depending on how your ProSeek is configured. When this occurs, no check box will appear before the collection names.
3.Click on the word "close" in the bottom right corner of the drop-down list or anywhere outside the drop-down box to finalize your collection choices and close the list.
Choosing Different Collections to Search
If you want to search a different set of collections, you can reset your choices by click on the Start Over button at the far right of the Collection Choices section.

Browse | Viewer | Search | Map Search | Print | Audio Files | Text Correction | User Annotation
© NMT Corporation - All rights reserved.